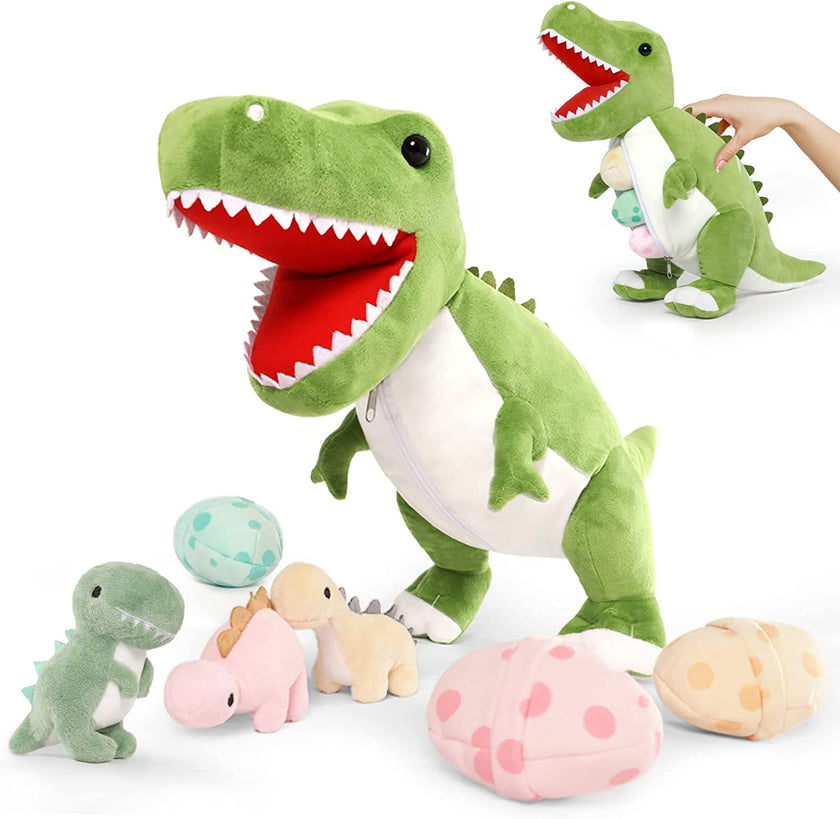
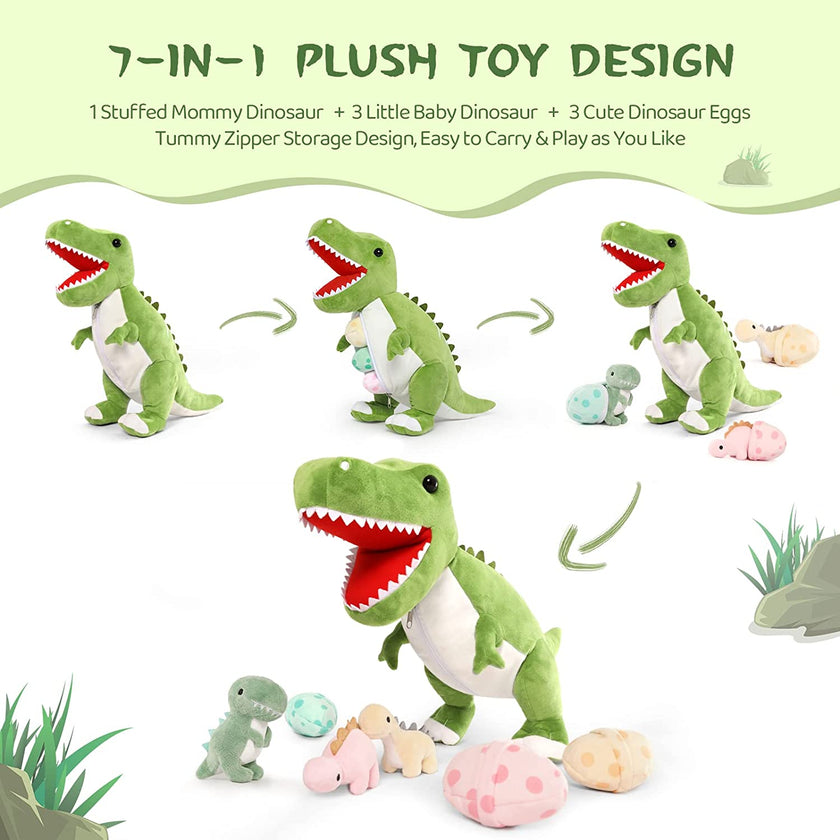
Are you looking to add a touch of style to your plush toys? Why not create a custom dress for them? In this article, we will guide you through the process of making a dress for your favorite plush toy. Let's get started!
Before we dive into the step-by-step guide, let's first gather the materials you will need for this DIY project:
👚Fabric of your choice
✂️Scissors
🧵Thread
✨Needle
📏Measuring tape
🧷Pins
🌸Buttons or snaps (optional)
Now that you have all your materials ready, let's move on to the next step.
Step-by-Step Guide
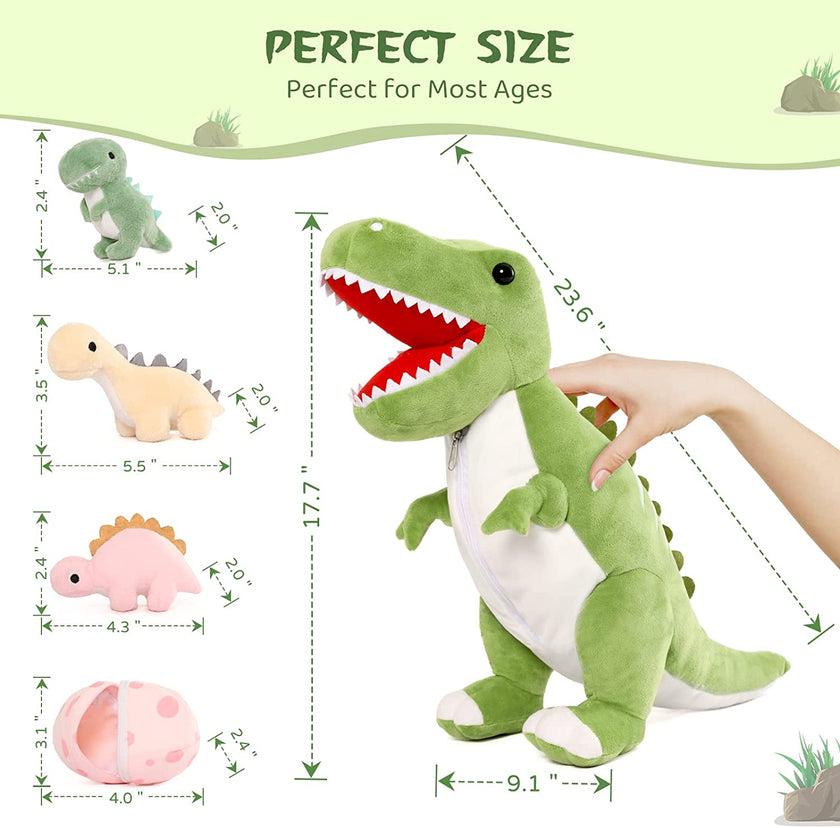
📏Measure Your Plush Toy: Start by measuring your plush toy's body. Measure the length from the neck to the bottom and the width around the widest part of the body.
✏️Create a Pattern: Use the measurements you took to create a pattern for the dress. You can either draw the pattern directly onto the fabric or create a paper pattern first.
✂️Cut the Fabric: Once you have your pattern ready, use the scissors to cut the fabric according to the pattern.
✨Sew the Dress: Use the needle and thread to sew the pieces of fabric together. Start by sewing the sides of the dress and then move on to the hem and neckline.
🌸Add Buttons or Snaps: If you want to add buttons or snaps to the dress, now is the time to do so. This will make it easier to put the dress on and take it off your plush toy.
👗Final Touches: Once you have finished sewing the dress, make sure to trim any loose threads and give it a final inspection to ensure everything is secure.
And there you have it! You have successfully created a custom dress for your plush toy.
Making a dress for your plush toy is a fun and creative way to personalize your toys. With just a few simple materials and some basic sewing skills, you can create a unique outfit that will make your plush toy stand out. So why wait? Grab your materials and get started on this DIY project today!

